Broken Tensioner Bolt Solutions: Effective Repair and Prevention by SAIVS
Broken Tensioner Bolt Solutions: Effective Repair and Prevention by SAIVS
Published by SAIVS Technical Team
A broken tensioner bolt can halt an entire system, from industrial engines to hydraulic drives. When such a failure occurs, proper handling determines whether the repair will be quick—or costly. This technical article explains the causes, professional repair techniques, and key preventive actions using SAIVS high-strength fasteners and tensioner components.
")
Understanding the Role of the Tensioner Bolt
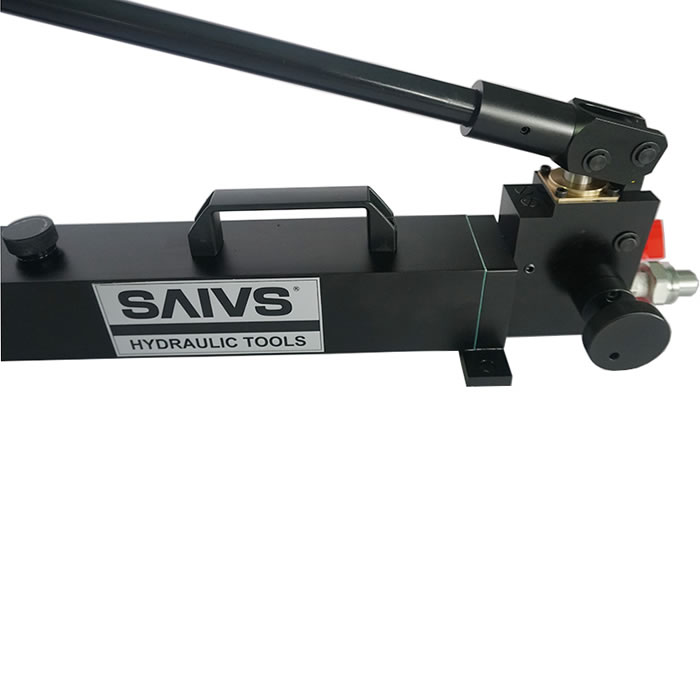
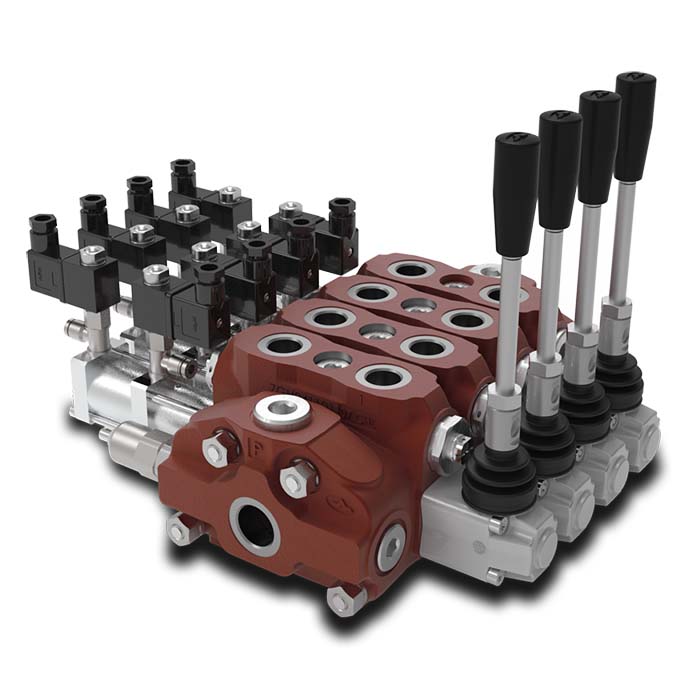
The tensioner bolt keeps proper belt tension in dynamic mechanical systems like alternators, compressors, and Hydraulic pumps. It bears significant vibration, heat, and mechanical load. Over time, these forces can exceed the bolt’s fatigue strength if incorrect torque or poor-quality materials are used. That’s why SAIVS designs precision-engineered bolts that maintain optimal tension without deformation or early fatigue.
Main Causes of Bolt Breakage
Excessive Torque: Over-tightening stretches the bolt beyond its elastic limit, leading to microscopic cracks and eventual fracture.
Insufficient Torque: Loose bolts allow vibration and shear stress, causing uneven loading on the tensioner system.
Corrosion and Aging: Continuous exposure to oil, moisture, or heat accelerates metal fatigue.
Inferior Material: Low-grade or uncoated bolts deteriorate faster under high mechanical stress.
Improper Installation: Lack of lubrication or cross-threading can create stress concentrations that trigger early failure.
How to Remove a Broken Tensioner Bolt
When the bolt head shears off, removal becomes more challenging. However, using the right method minimizes additional damage. The following SAIVS-approved approaches are recommended for workshop or field repairs.
1. Extractor Method
Drill a centered pilot hole into the broken bolt with a small, sharp drill bit.
Insert a spiral extractor and tap lightly to seat it securely.
Turn counterclockwise slowly using a wrench—steady pressure avoids enlarging the hole or damaging the thread.
This method works well for bolts broken flush with the surface.
2. Drilling Out and Re-Tapping Threads
If the extractor cannot grip, drill through the bolt progressively using bits of increasing size.
Clean the hole and re-tap it to the correct thread pitch.
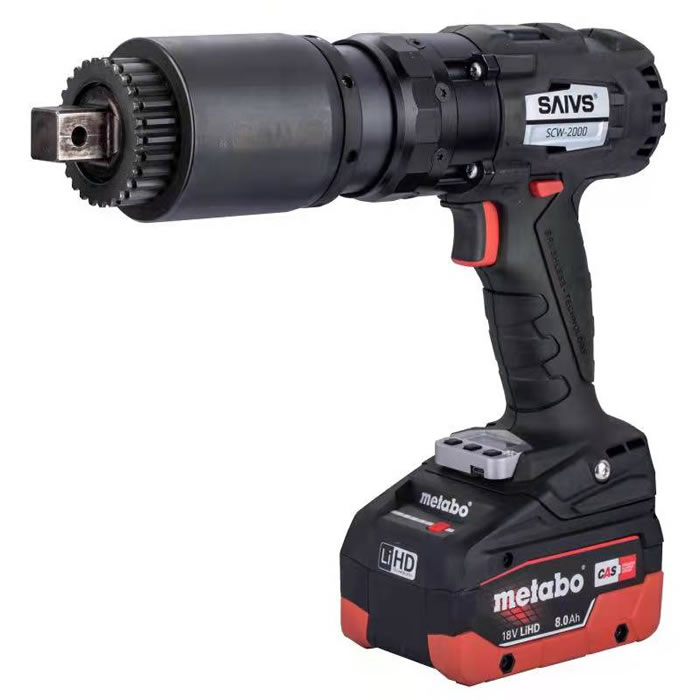
Replace the damaged bolt with a new SAIVS high-strength tensioner bolt for precise torque and durability.
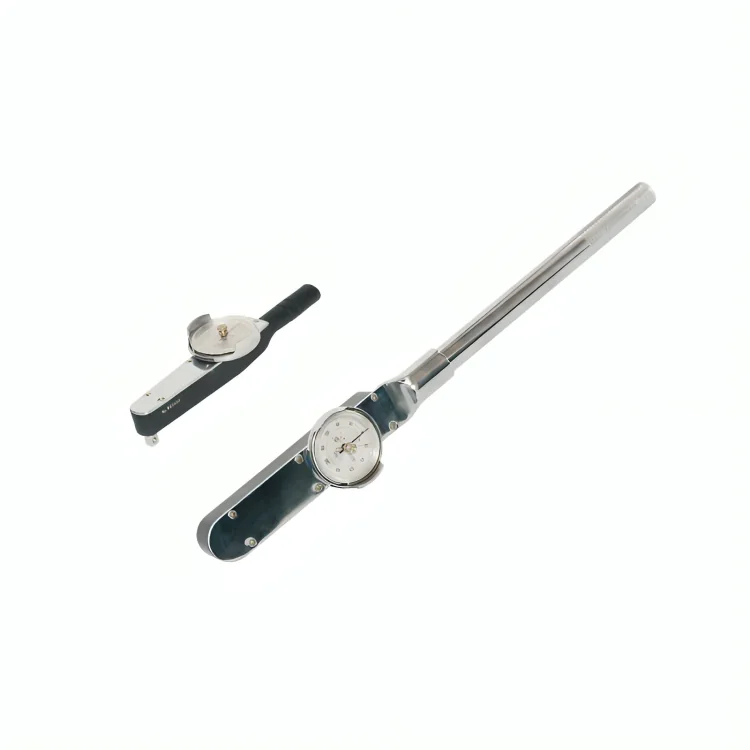
Always use a torque wrench to match the manufacturer’s specified value.
3. Using a Right-Angle Drill
For tight engine compartments or frame-mounted systems, a right-angle drill allows accurate drilling at limited clearance.
Control the drilling speed and pressure carefully to avoid damaging nearby components.
Preventing Future Failures
Prevention starts with correct installation and reliable parts. SAIVS recommends integrating the following maintenance and safety measures into your regular servicing schedule.
Essential Preventive Tips
Use Certified Hardware: Always install SAIVS-grade 8 or equivalent bolts for tensioner assemblies.
Follow Correct Torque: Over- or under-tightening can shorten bolt life dramatically.
Lubricate Threads: Apply a thin anti-seize compound to prevent corrosion and facilitate later removal.
Routine Inspections: Examine bolt heads, washers, and surrounding metal for cracks, rust, or looseness.
Replace Complete Sets: When changing a belt or pulley, replace all tensioner-related components together.
Professional Support from SAIVS
If a bolt breaks in a critical location or cannot be safely extracted, contact SAIVS for technical assistance. Our engineering team provides customized solutions, including replacement bolts, tensioner assemblies, and precision hardware kits designed for industrial, automotive, and Hydraulic Systems. SAIVS products are manufactured under strict quality control to ensure consistent strength, performance, and corrosion resistance.
Conclusion
A broken tensioner bolt may seem like a minor failure, but improper handling can lead to costly downtime. By using professional techniques and quality replacement parts from SAIVS, you can extend component lifespan, restore system reliability, and reduce maintenance frequency. Remember: correct torque, proper material, and proactive inspection are the keys to long-term mechanical stability.